One sentence to Opus 5.5, a finished video: the five steps it runs on its own
How Opus 5.5 makes a video end to end: it writes, voices, illustrates, captions and edits on its own. Tools for each step, five visual routes, one prompt.
Want to make videos, but you can’t edit, can’t draw, and don’t want to be on camera? Your feed is full of videos Opus 5.5 made from a single prompt, you’d like to try, and you don’t even know what to install.
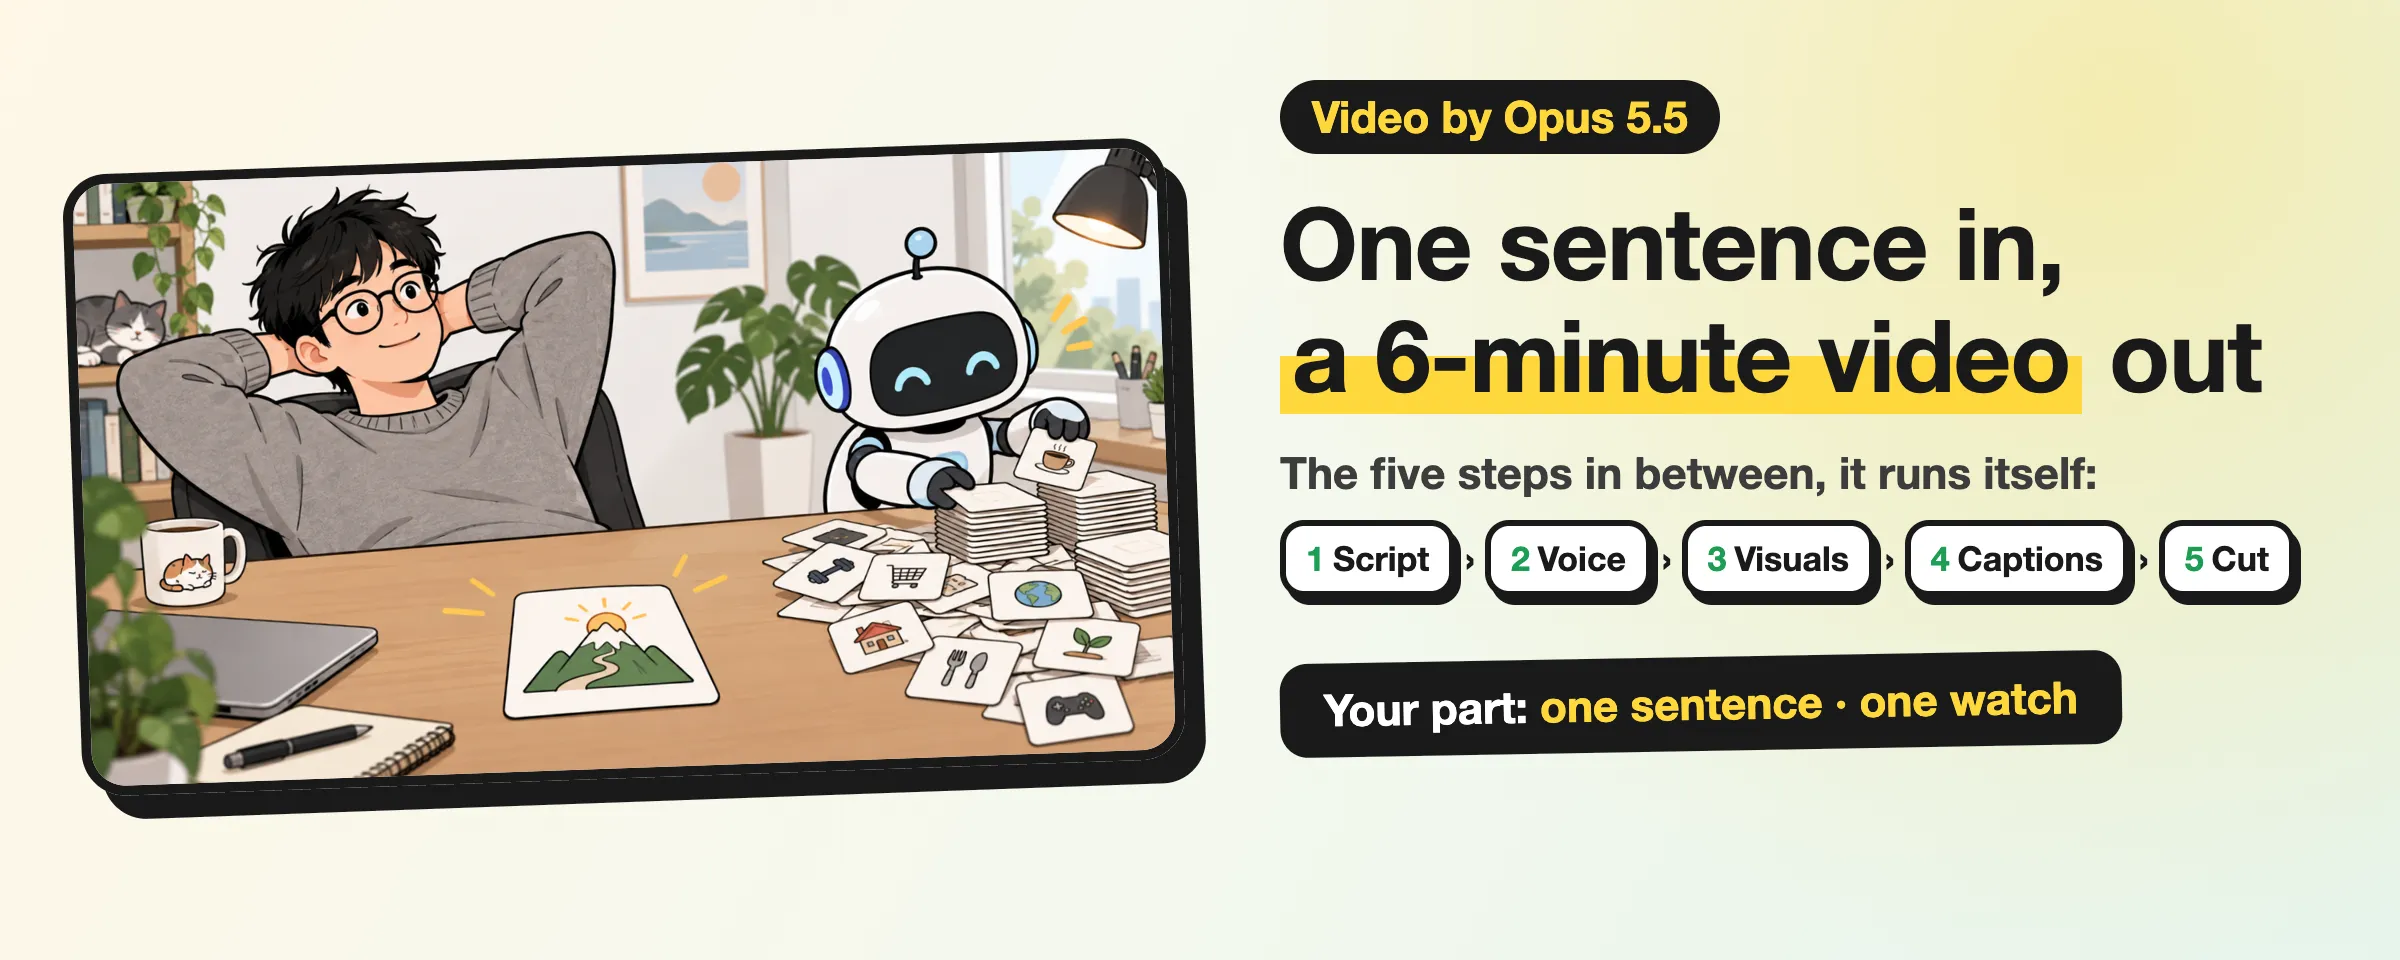
Your part is small: say what you want in one sentence, then watch the result. The five steps in between (script, voiceover, visuals, captions, final cut) are all done by the AI. It installs the tools and runs the commands itself.
The one requirement: use an AI that can run commands on your computer, like Claude Code. A chat window in the browser can only give advice; it can’t produce a video file.
I just made a 6-minute explainer this way. I gave it a reference link and one sentence, and twenty minutes later the video was done: 41 illustrations, a Chinese voiceover, Chinese and English captions. The only thing that cost money was the images, paid per picture. Everything else was free.

The five steps the AI runs
You don’t touch any of these. It’s enough to know what it’s doing, so when a step isn’t right you can tell it exactly what to change.
| Step | What it does | Tools it uses |
|---|---|---|
| 1. Script | Writes the whole video as one script file | The model itself |
| 2. Voiceover | Reads the script aloud and measures the length | edge-tts, ElevenLabs, MiniMax |
| 3. Visuals | Makes images, animation or clips to fit the timing | Depends on the route |
| 4. Captions | Lines them up with the voiceover and burns them in | The voice tool’s timings, Whisper |
| 5. Final cut | Joins picture, sound and captions into one video | ffmpeg, Remotion |
It goes in this order: script first, then voiceover, and visuals only once the length is fixed.
1. Script
- One script drives everything. Every line’s narration, captions and picture go into a single file, and each later step reads from it.
- Reference first. If you give it a reference video, it downloads it with yt-dlp, transcribes it with Whisper, and only then starts writing.
- Fact-checks. It looks up the studies and numbers in the script. My reference video cited a “study” that doesn’t seem to exist, and it swapped in a real source on its own.
2. Voiceover
It picks a voice tool and reads the script. If you have a preference, just say so:
- Free by default: Microsoft’s voices through edge-tts, good enough in most languages.
- More human, or your own voice: ElevenLabs or MiniMax, both can clone a voice.
- Runs on your machine: the open-source CosyVoice.
Then it checks the length. Too long, it cuts lines; too short, it adds some; only when it fits does it move on, so no images get made for nothing.
3. Visuals
This step costs the most and changes the look the most, and it all comes down to the route. If you don’t say, it picks one; if you want a specific one, tell it.
| Route | Good for | Visual tools | Cost |
|---|---|---|---|
| Code animation | Product intros, data charts, kinetic text | Remotion, Manim | Nearly free |
| Illustrations + voice | Explainers, book notes | gpt-image, Nano Banana, Flux | Per image |
| AI video | Ads, stories, cinematic shots | Veo, Kling, Seedance, Runway | Most expensive |
| Screen recording | Software tutorials, product demos | The AI drives a browser and records it | Free |
| AI presenter | Someone on camera who isn’t you | HeyGen, Synthesia | Subscription |
- Code animation: most of the viral Opus 5.5 videos take this route. It writes every frame the way it would write a web page, then renders it to video, so text and numbers stay crisp and changes are quick. Remotion is free for individuals.
- AI video: the most cinematic, but each clip is a few seconds long and the same character can look different from shot to shot. Great as seasoning, hard to carry a whole video.
If you’re new, I’d start with illustrations or code animation: cheap, and painless to redo. It usually handles the following on its own; if it doesn’t, remind it:
- Lock the character. The same description of the main character goes into every image prompt, or the face changes from picture to picture.
- No text in images. Text drawn by an image model is usually gibberish, so words go in the captions or the code.
- AI video shot by shot. One clip per shot, joined at the end.
4. Captions
- It does the timing. The voice tool reports when each word is spoken, and it lines the captions up with that. If you hand it a recording, it gets the timings from Whisper.
- Burned into the picture. Many platforms autoplay on mute, and without captions nobody knows what you’re saying.
5. Final cut
- ffmpeg: the editing tool it knows best. Slow zooms, captions, joining clips, loudness, all in a few commands.
- Remotion: on the code animation route, it renders the finished video directly.
If you want background music, make a track in Suno and hand it over; commercial use needs a paid plan. If you want to hand-tune details afterwards, drop the video into CapCut.
Your three jobs
- Say what you want in one sentence. A reference or a topic, the length, the platform. That’s enough.
- Check the sources. Open the sources it verified and take a look; a replacement isn’t always right.
- Watch it all the way through. It checks a video by sampling frames, not by watching the whole thing, so watch it yourself before posting.
Before you post
- Aspect ratio follows the platform. Tell it where it’s going and it picks the frame: landscape for X and YouTube, vertical for TikTok, Reels and Shorts.
- Title on the first frame. Otherwise people scroll past; if it’s missing, ask for it.
- Long videos on X need Premium. Anything over 2:20 does, and that part is up to you.
What to paste to the AI
All I said was “use this video as a reference and make a 6-minute video for Twitter”; it did the rest. The general version:
Make a <length> video for <platform> about <a topic, or paste a reference video link>.What kind of video would you have AI make, and where do you get stuck?